

How to Use Google Plus to Record A Video Blog
Google+ offers what they call Hangouts and Hangouts on Air, also known as “video options for the tech challenged.”
What Are Hangouts and Hangouts on Air?
Hangouts are an online gathering of up to 10 people. Using your computer’s webcam and microphone (or a headset), you can see and talk to the other people in the Hangout. While Hangouts offer many applications for writers, the real magic happens in Hangouts on Air.
Hangouts on Air are live online broadcasts, and Google+ takes care of all the tricky parts for you.
Here are seven easy steps to creating a video blog using Google+:
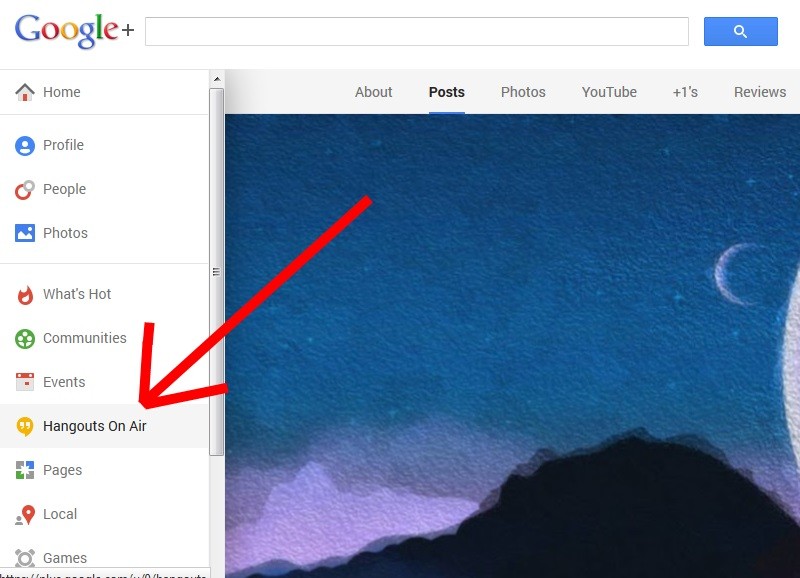
Step 1: Log in to Google+ and Click the Hangout on Air Button
If you’re on your profile page, you can find the “Hangout on Air” button by hovering your mouse over the “Profile” icon at the top left of your background image and selecting “Hangout on Air” from the drop-down menu.
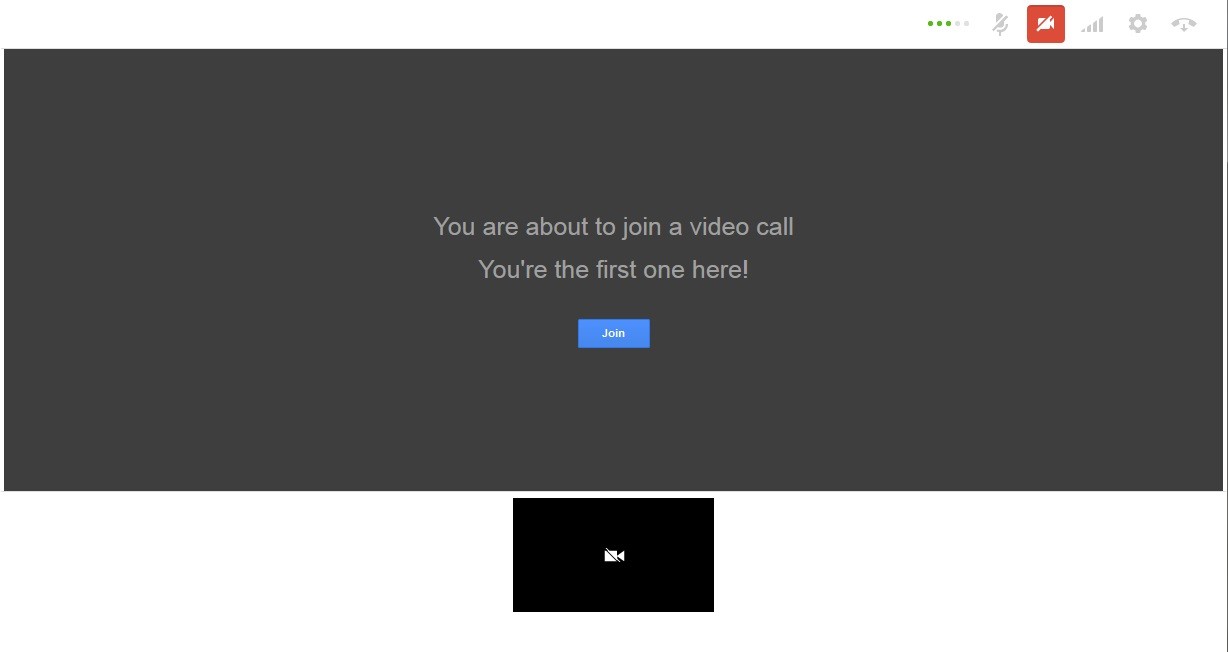
Step 3: Click Join
After the plugin installs, you’ll be redirected to a screen that looks like this.
Step 5: Name Your Hangout on Air

Because you’re using Hangouts on Air for video blogging, when you name your Hangout, you want to think about it like titling a blog post.
The second box you need to fill in asks you to invite people. Since you’re using this to record a video blog, leave it blank.
Click “Start Hangout on Air.” (This doesn’t start the broadcast, so don’t worry).
Step 7: Record Your Hangout on Air
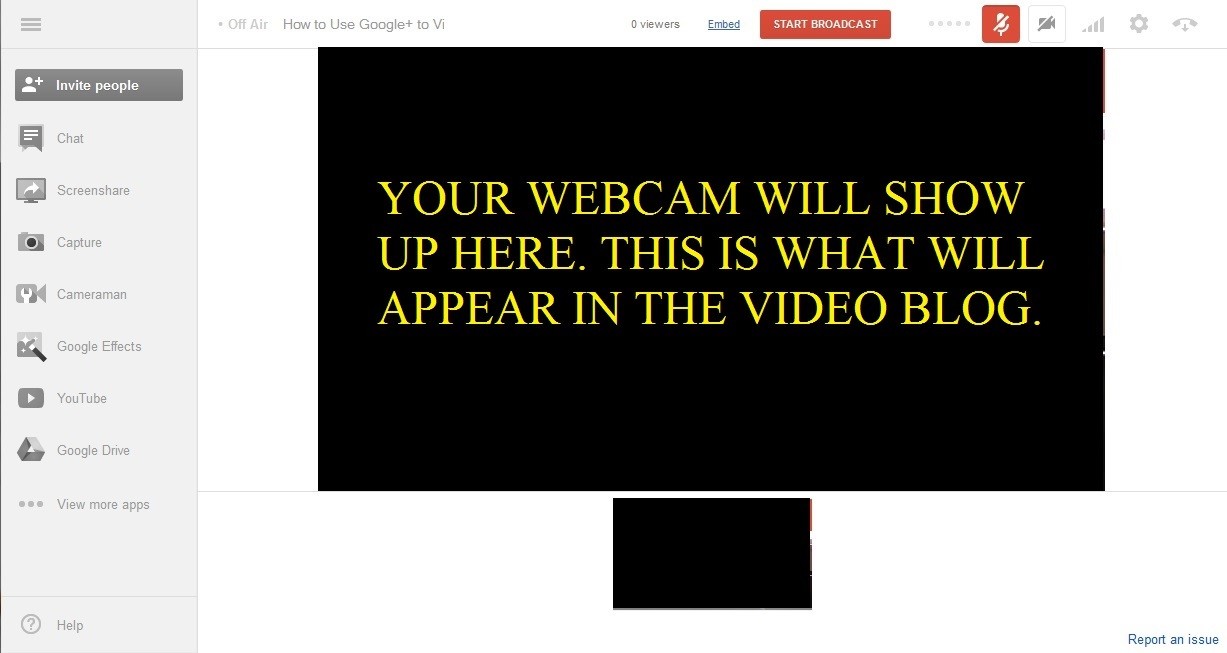
Now you’re ready to start recording. The broadcast won’t begin until you’re ready, so before you go on air, make a couple checks. Is the room too dark and throwing your face into shadow? Do you have a direct source of light behind you, making your face hard to see? Do you see anything embarrassing/too personal in the background?
Do you want this video blog to live stream to the blog page on your website as well? Click on “Embed” to the left of the red “Start Broadcast” button, and it will give you the little piece of code to paste into your blog. (You don’t have to do this. You can also take the video from YouTube and add it to your blog once you’re finished).
Do you know what you want to talk about? Just like with a written blog, you need to provide value for your audience, whether that’s entertainment or education.
Once you’re ready, click “Start Broadcast.”
Google+ will automatically upload it to YouTube once you finish, as well as posting it to your Google+ home page.
And that’s all there is to creating a video blog using Hangouts on Air!
Step 2: Choose to Start a Hangout on Air
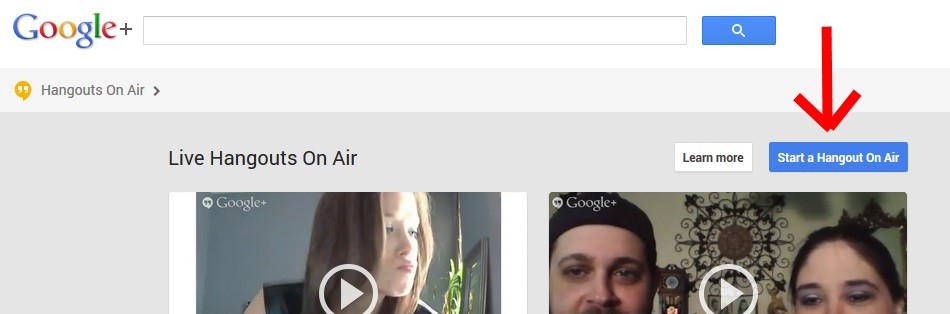
One you click “Start a Hangout on Air,” a new window will open. (For the rest of this post, we’re going to call this the Hangout Window to keep things clear). If you’ve never used a Hangout before, you’ll be prompted to install the Hangouts plugin. It’s free, quick, and easy to do.
Step 4: Connect Your YouTube Account
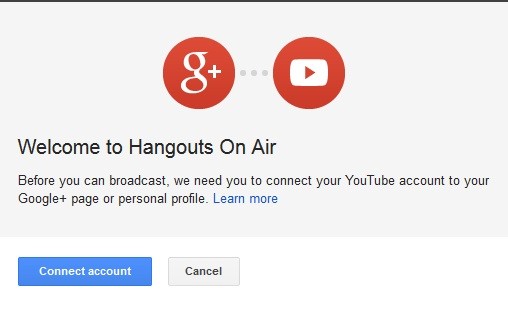
When you click “Connect Account,” you’ll be taken to YouTube. (Your Hangout Window will stay open separately).
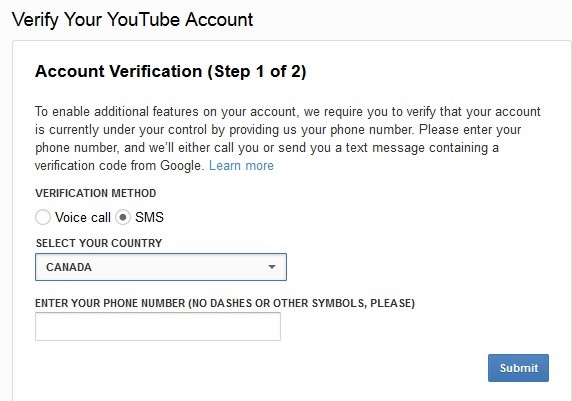
Connecting your YouTube account takes two sub-steps. First, you’ll be asked to confirm that your account is actually yours. They will ask for your phone number and you select whether you want to receive a text message (SMS) or voice call. Text message is easiest.
Second, you input the code they give you and click “Verify.”
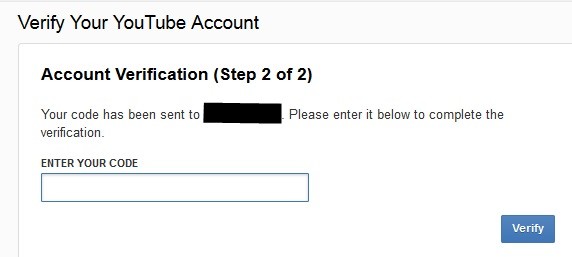
Your account is now enabled. You won’t need to do this again.
Back in your Hangout Window, you’ll see it wants you to check your account. Once you’ve done that, we’re on to the next step. Almost done.
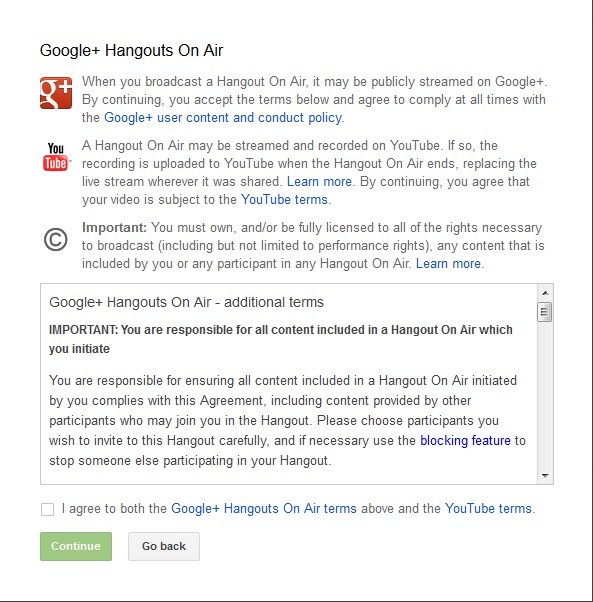
Step 6: Agree to the Terms of Service
Make sure you read them all, but you only need to do this once.
Want to Get More Creative?
Once you’ve gotten a little practice with video blogging, you might want to spice it up.
Hangouts on Air allows you to use various apps to share what’s on your computer screen, add silly hats and sounds effects, or upload SlideShare presentations. You can also edit your videos using YouTube’s video editor.